
DIY Outdoor Lighting: Step-by-Step Guide for Bryan Homeowners
Transforming your outdoor space with beautiful lighting can dramatically enhance the ambiance and functionality of your home. For Bryan homeowners, creating a stunning outdoor lighting setup is not only an opportunity to showcase creativity but also to increase the value and safety of their property. This step-by-step guide will help you embark on your DIY outdoor lighting journey.
Plan Your Lighting Layout
Before diving into the installation, planning is crucial. Consider the purpose of your lighting: do you want to illuminate pathways, highlight landscaping features, or create a cozy entertaining area? Sketch a rough layout of your yard and mark where you envision light fixtures. This will guide your purchasing decisions and ensure a harmonious design.
Think about the type of lighting you need. Options include spotlights, path lights, and string lights. Each serves a unique purpose and can be combined to achieve layered lighting effects. Don't forget to consider energy efficiency—LED lights are a popular choice for their longevity and low energy consumption.
Gather Your Tools and Materials
Once you have a clear plan, it's time to gather the necessary tools and materials. Here's a basic list to get you started:
- Light fixtures and bulbs
- Electrical wire and connectors
- Transformer (if using low-voltage lighting)
- Timer or smart lighting system
- Shovel and digging tools
- Screwdriver and drill
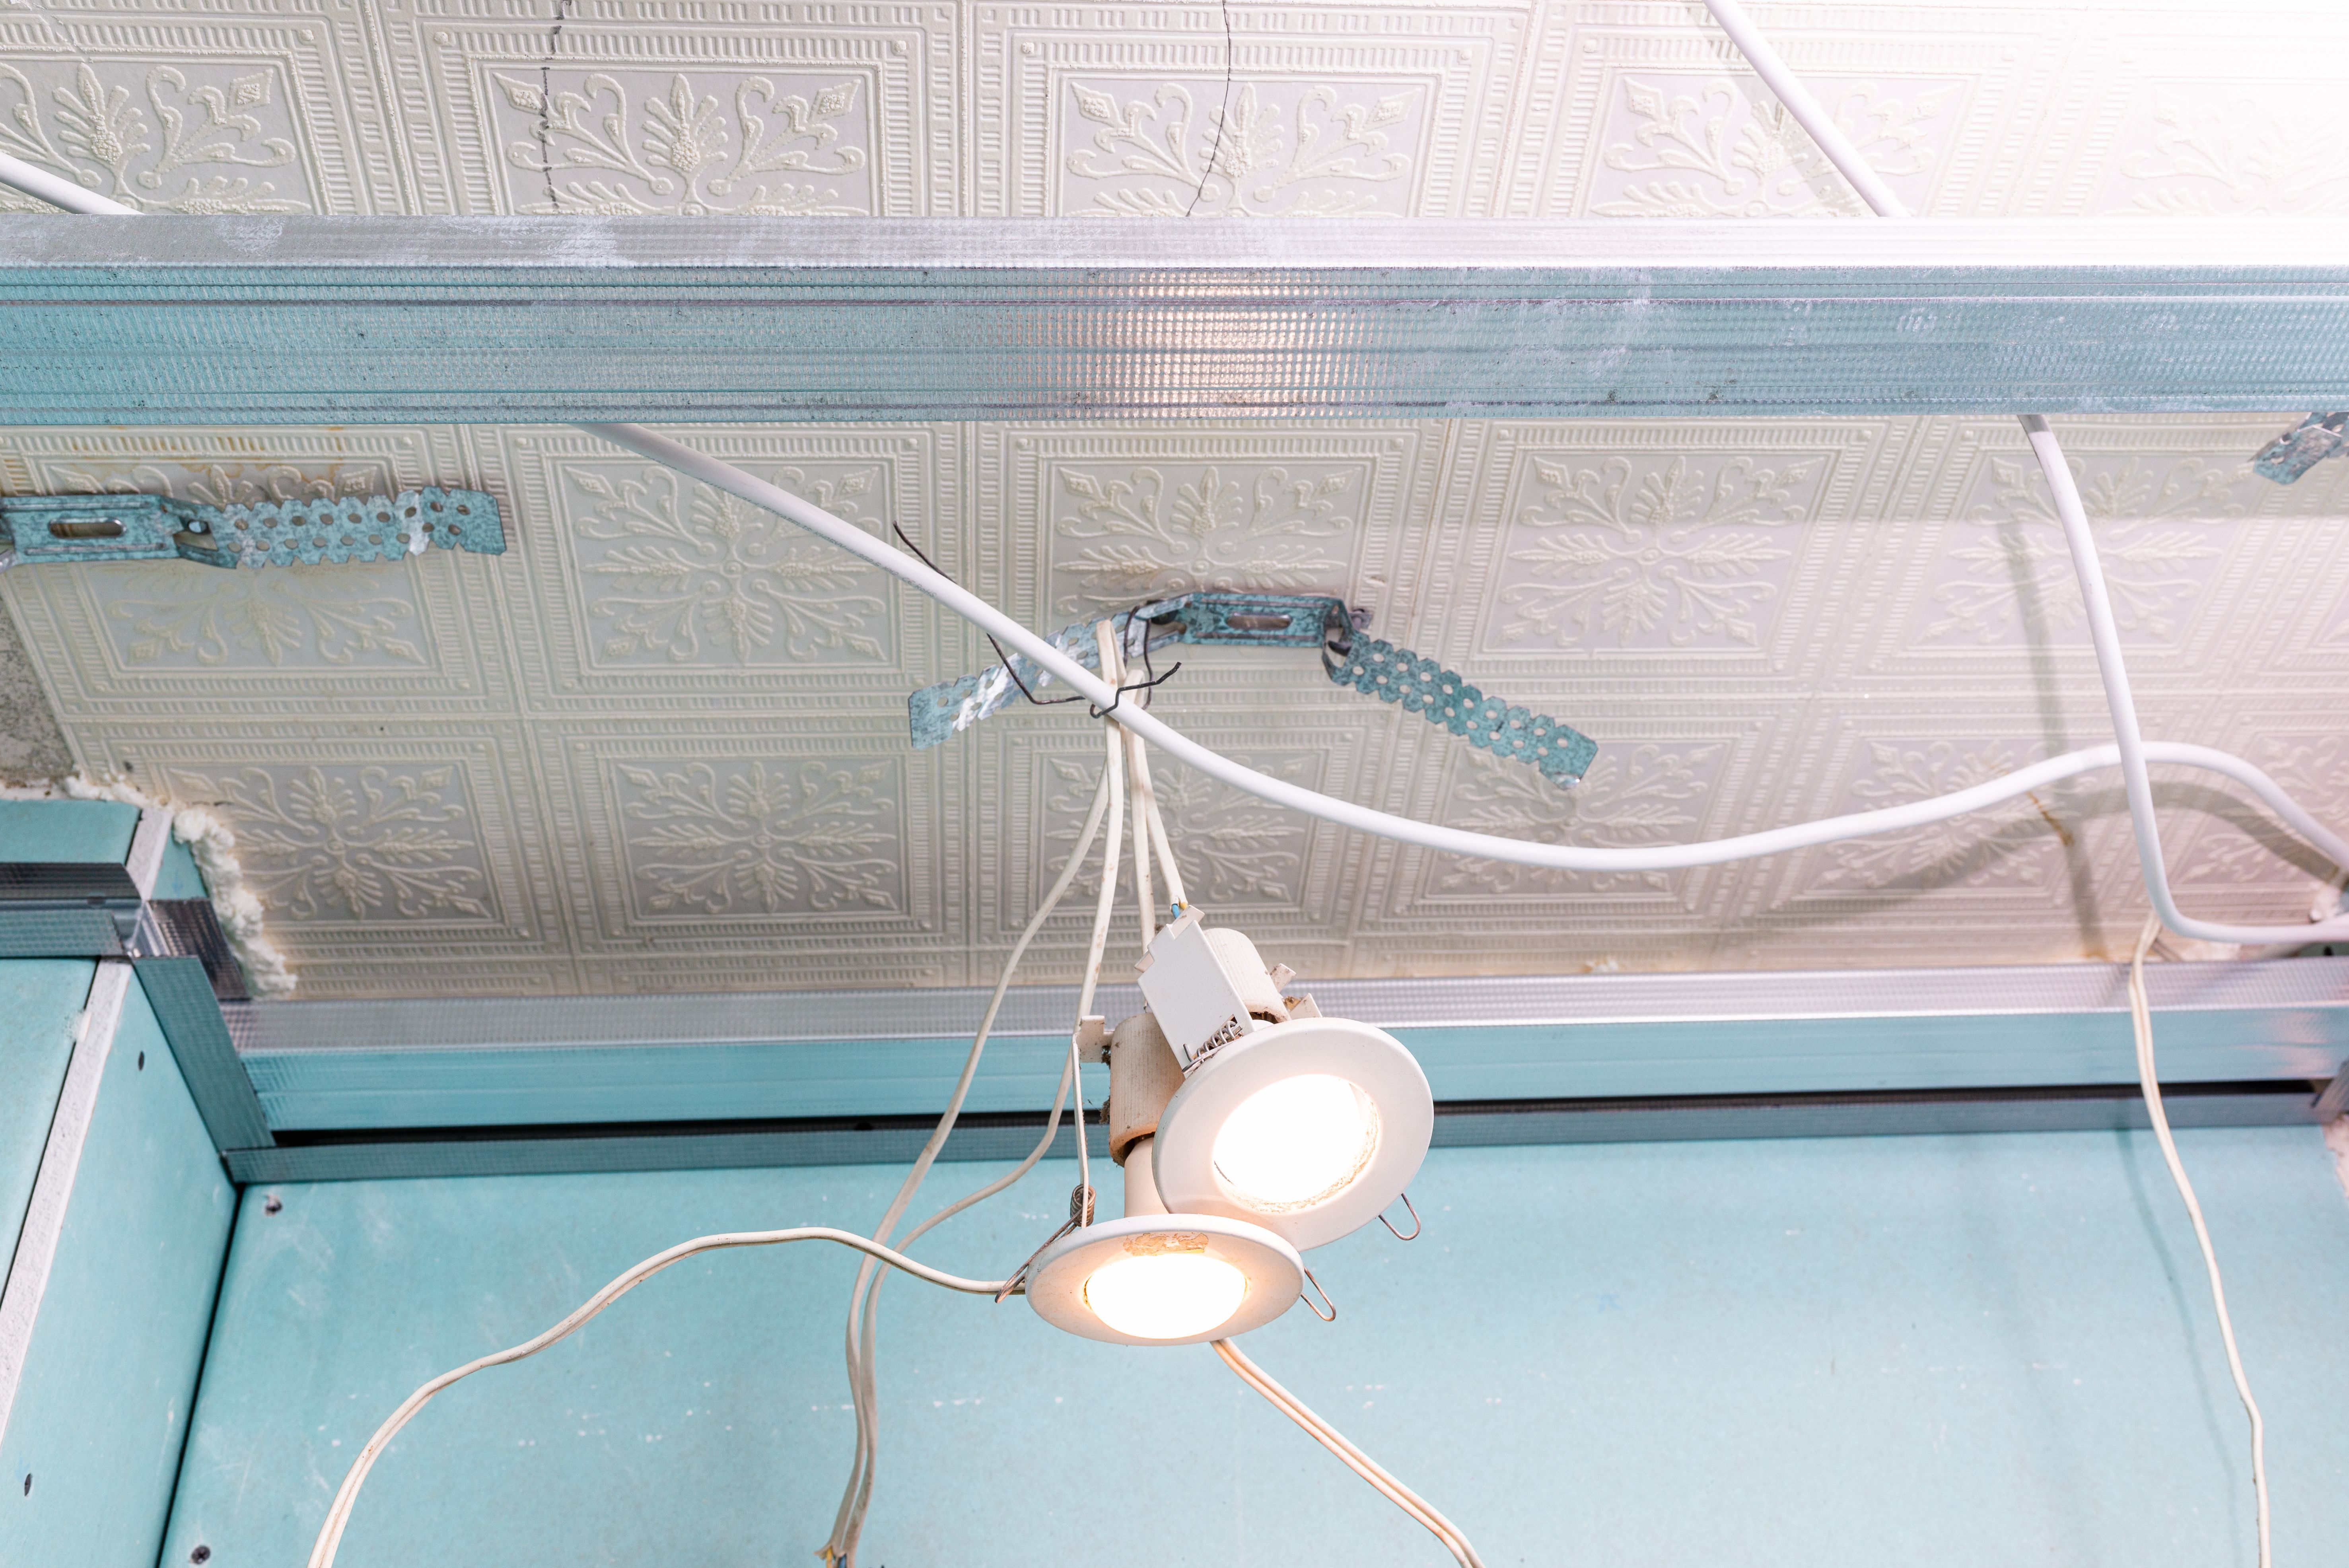
Having all the materials ready will make the installation process smoother and more enjoyable. Make sure to check the compatibility of your light fixtures with your power source to avoid any mishaps.
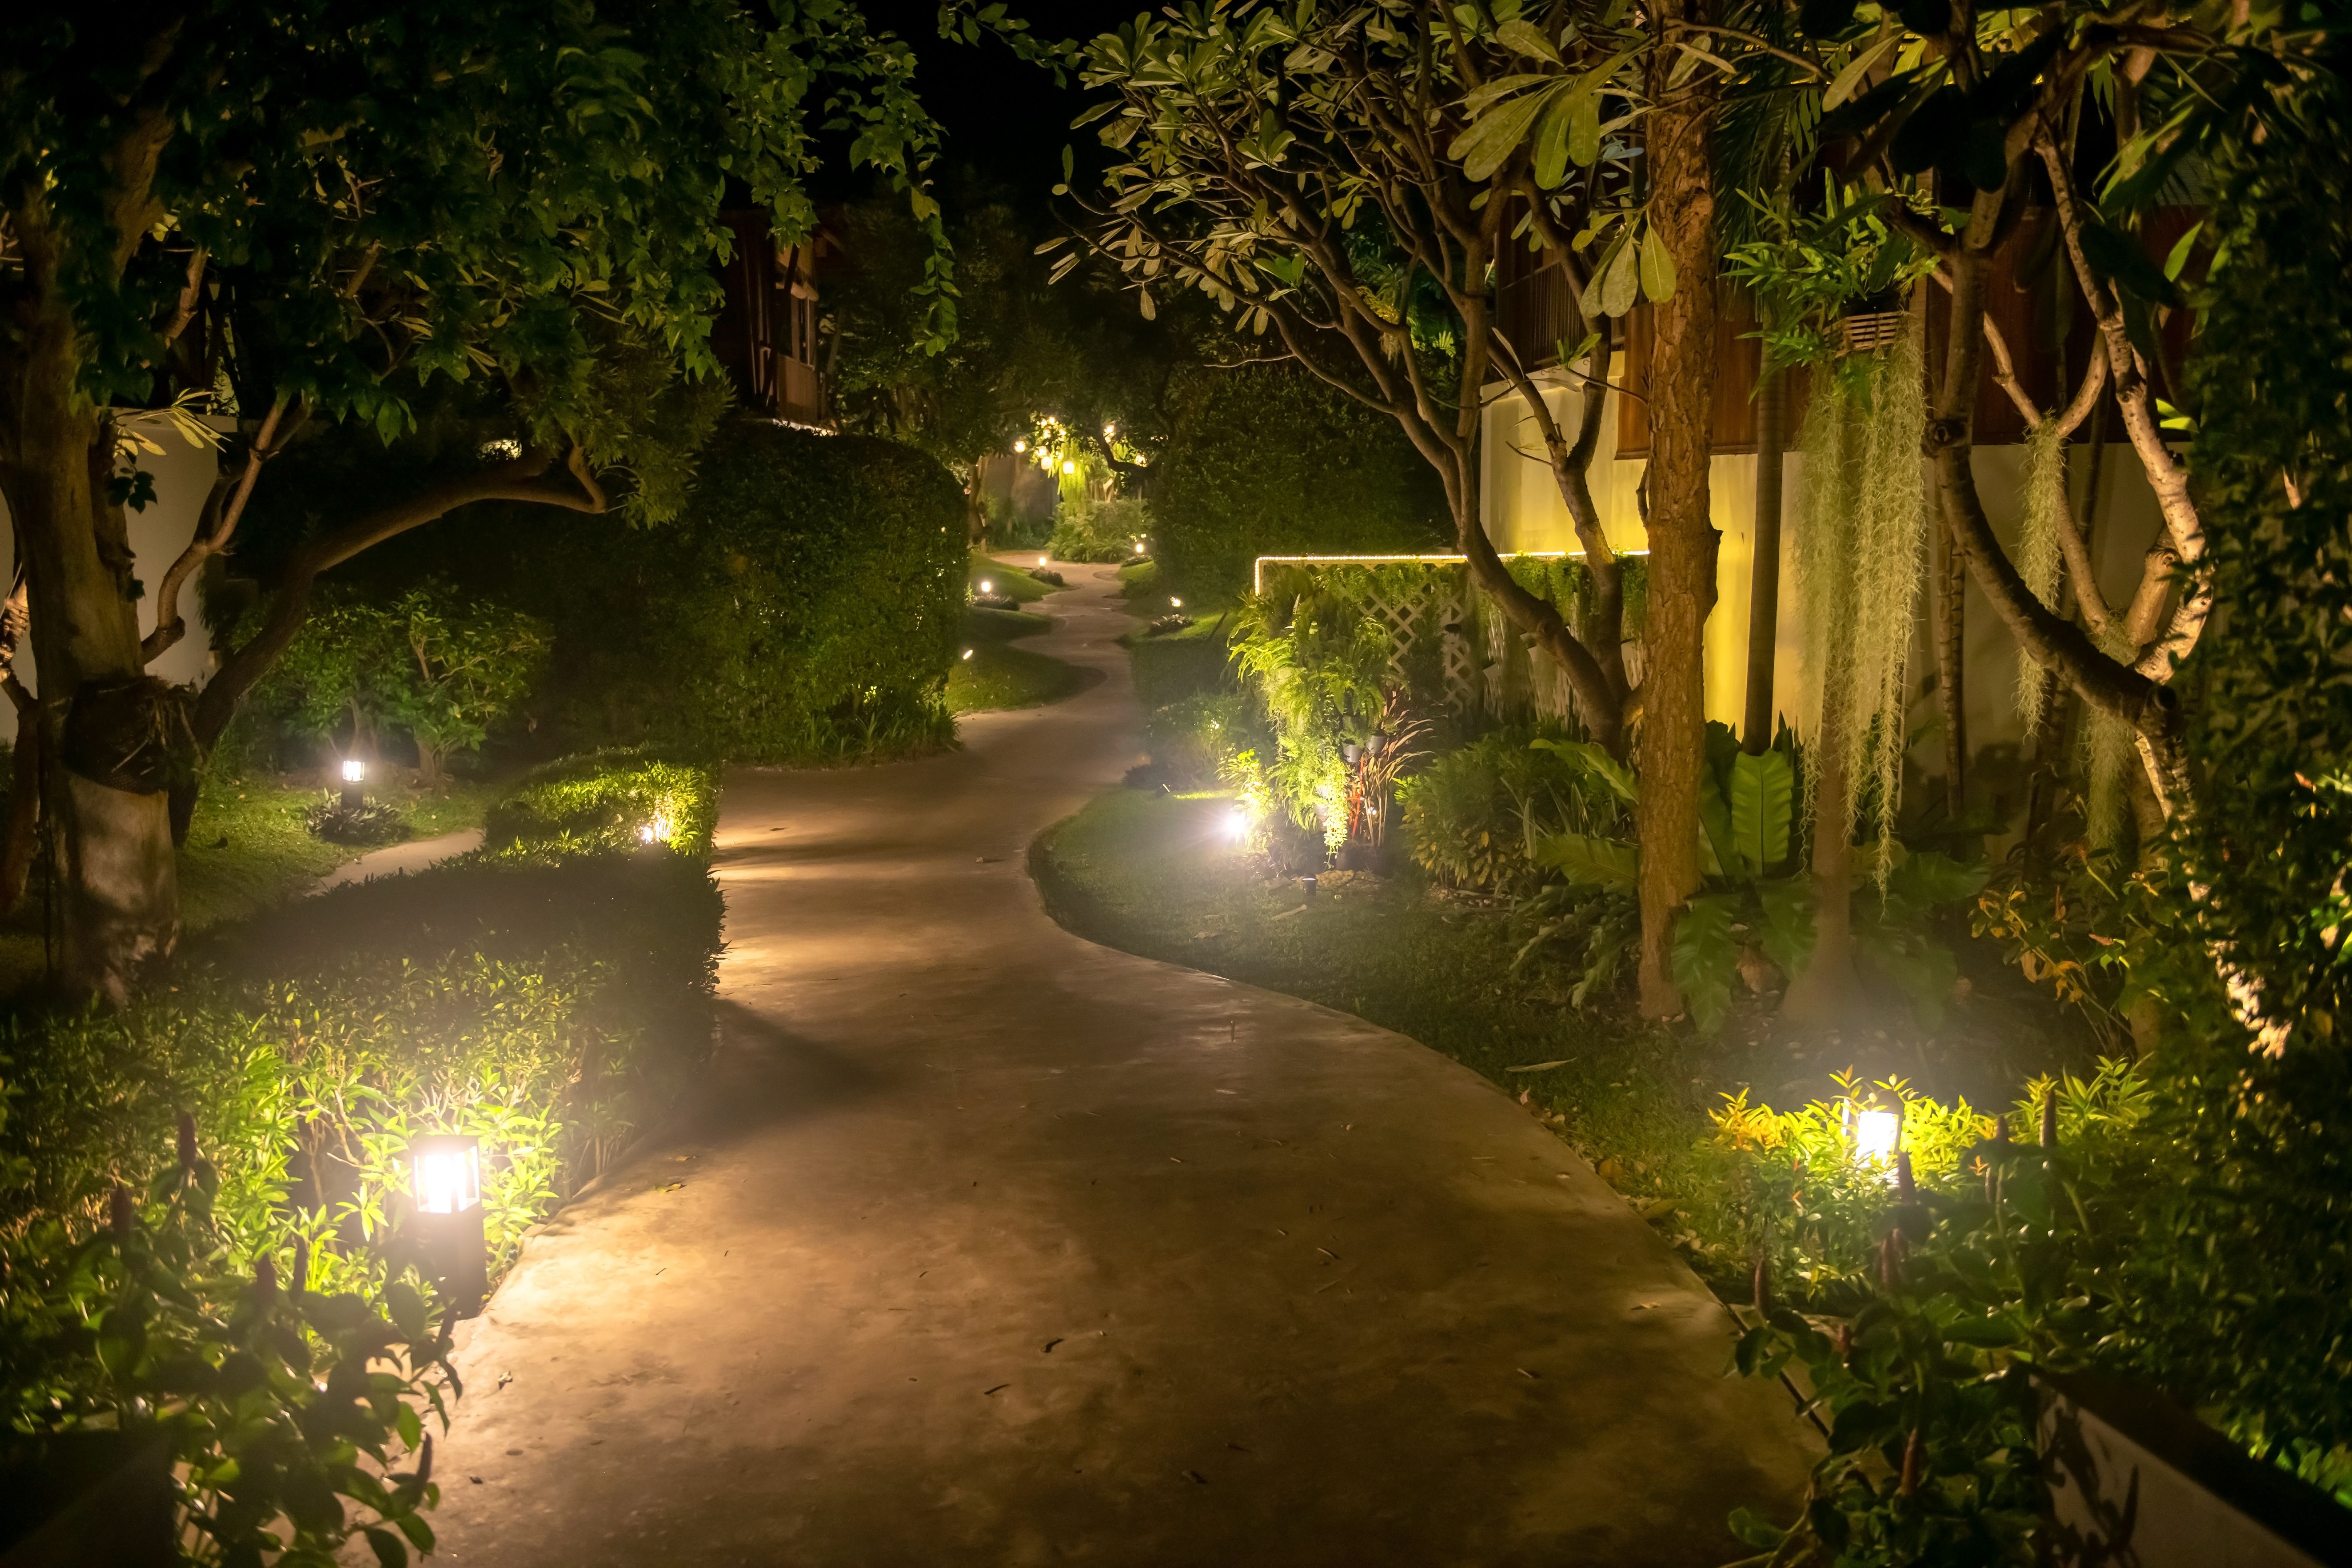
Install Pathway and Landscape Lights
Start with pathway and landscape lighting to define the structure of your outdoor space. Begin by digging shallow trenches for the wiring, ensuring they are deep enough to avoid damage from foot traffic or gardening tools. Lay the electrical wires in the trenches and connect them to your light fixtures.
Install the fixtures by following the manufacturer's instructions, ensuring they are securely anchored in the ground. Once installed, cover the trenches and test the lights to ensure they are functioning properly.
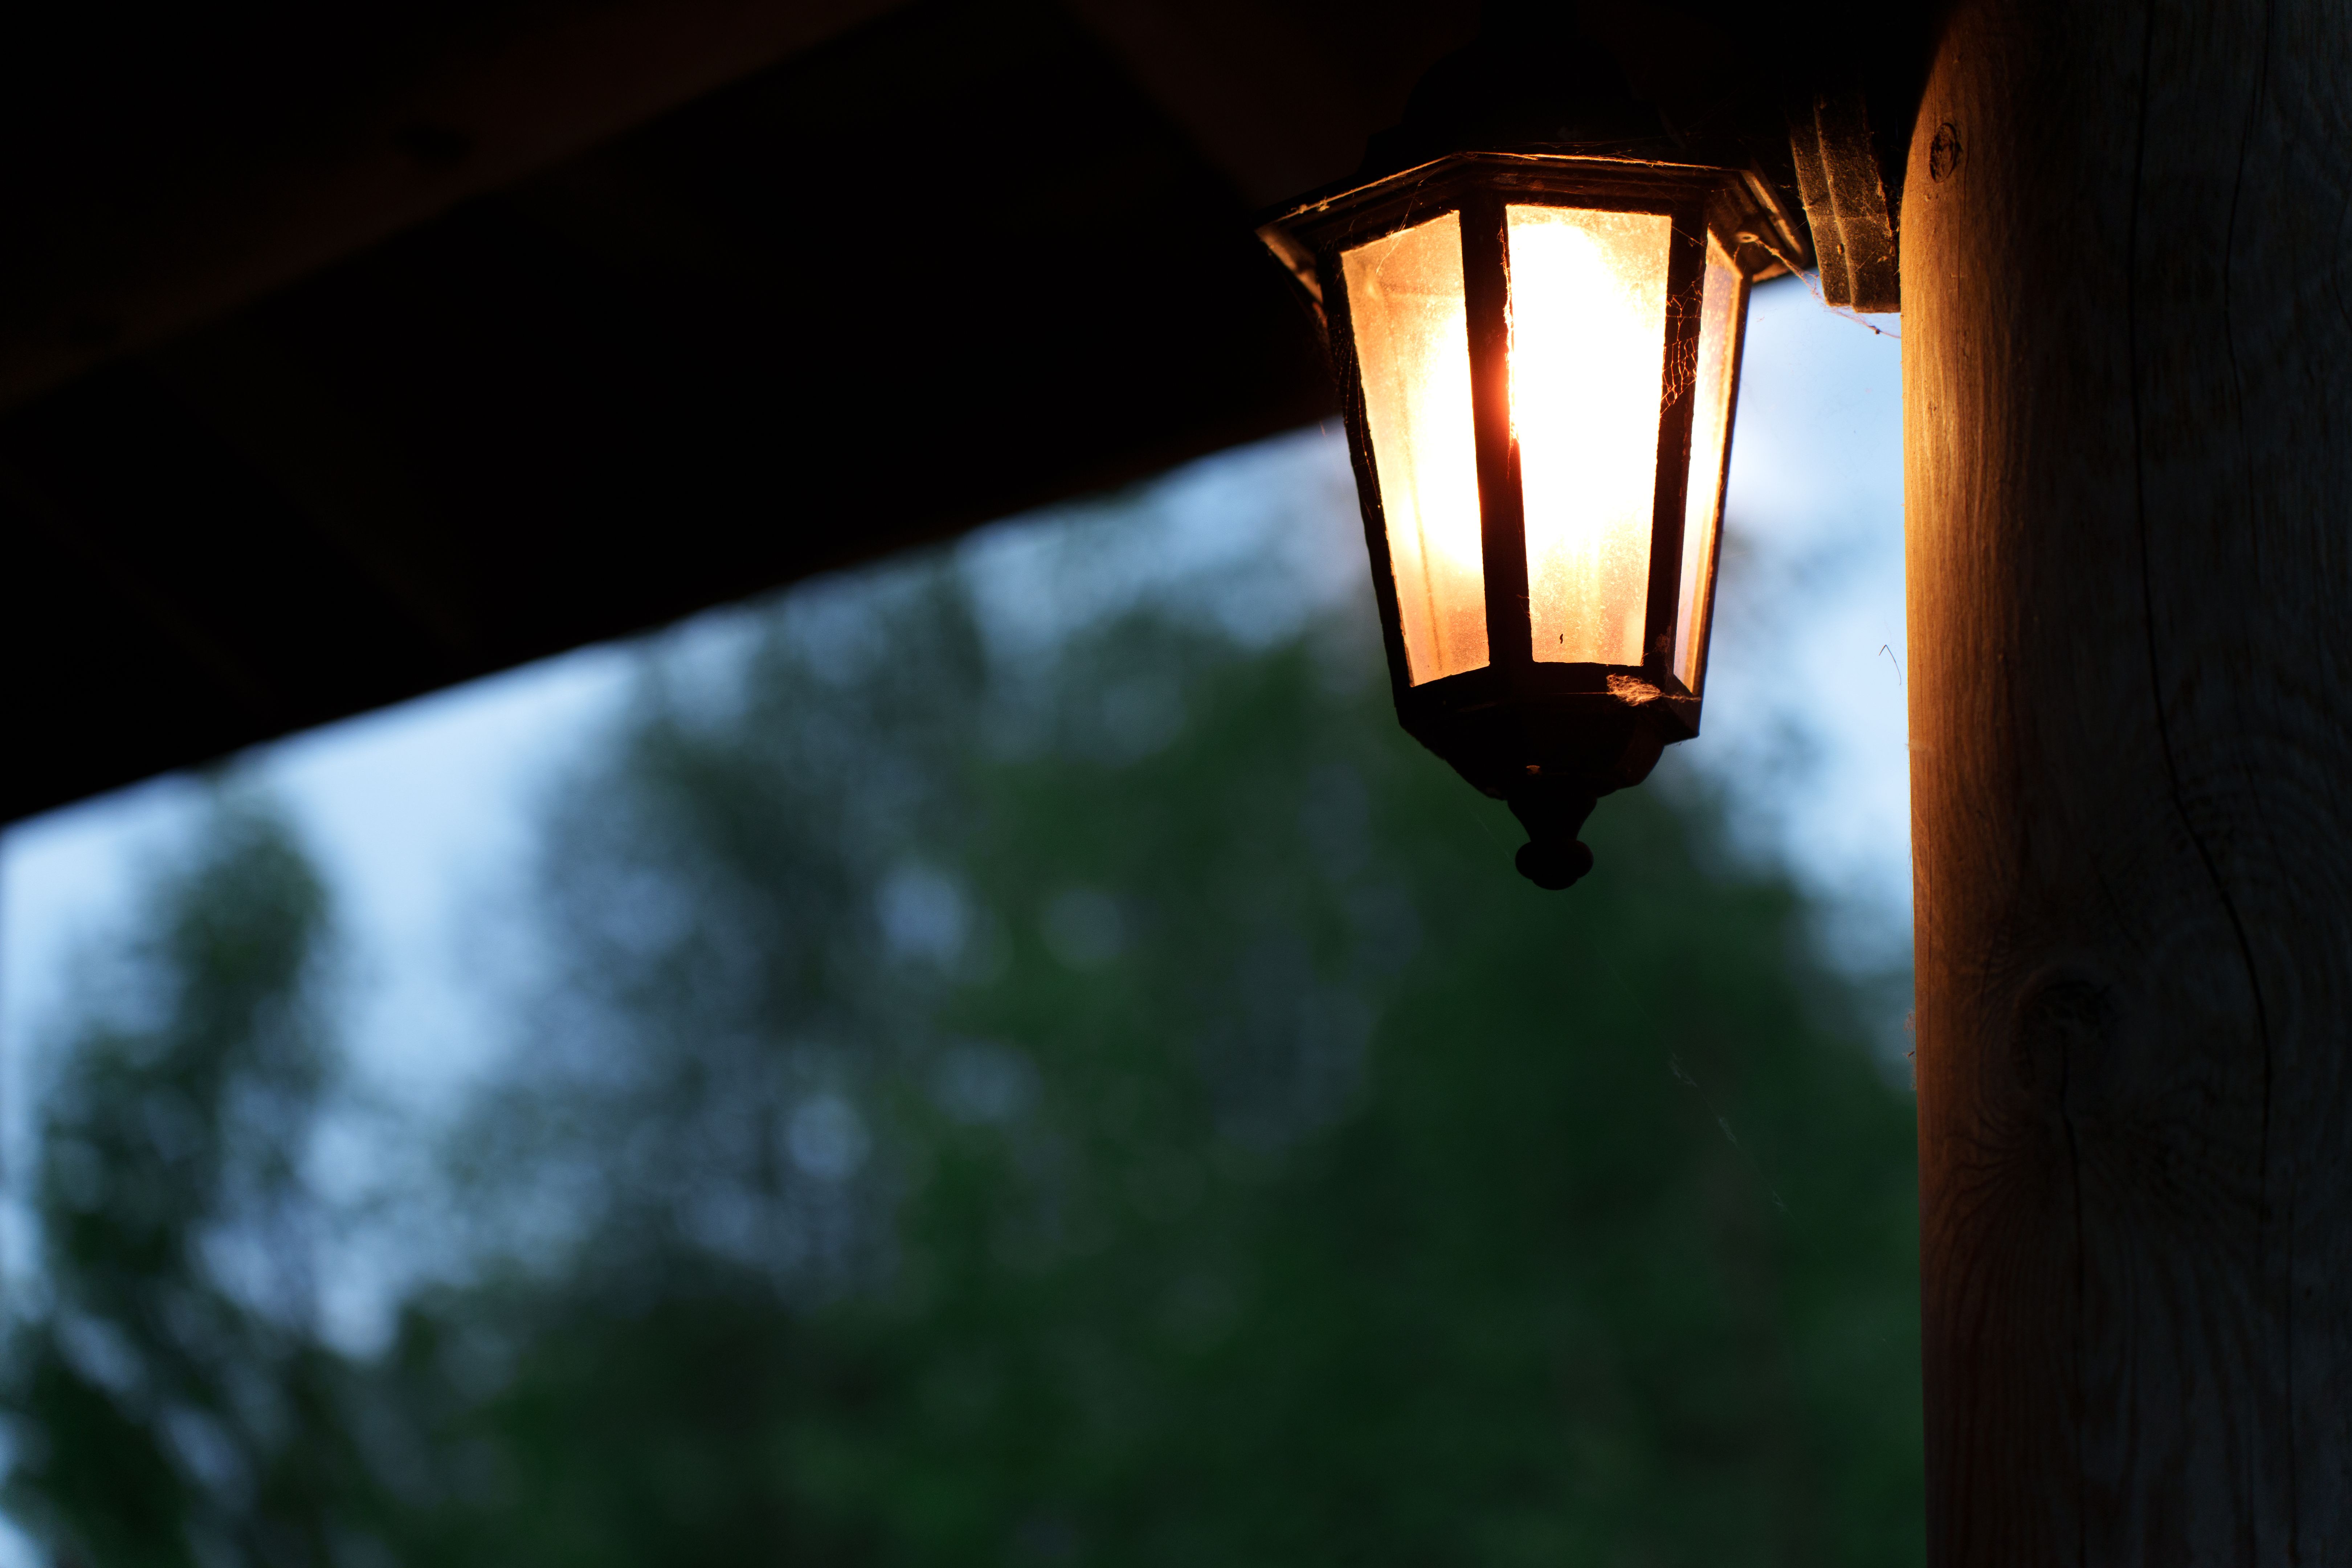
Install Accent and Overhead Lighting
Accent lighting is perfect for highlighting specific features, like trees or sculptures. Position spotlights at the base of these elements and adjust the angle to achieve the desired effect. Secure the fixtures and connect them to your power source.
For overhead lighting, such as string lights, use trees, poles, or existing structures to hang the lights. Ensure they are evenly spaced and taut to prevent sagging. Use weatherproof connectors to protect against the elements.
Test and Adjust Your Lighting
With all lights installed, it's time to test the entire system. Turn on your lights and walk through your outdoor space to observe how the lighting looks at night. Make adjustments as needed to achieve balanced illumination and avoid overly bright or dark areas.
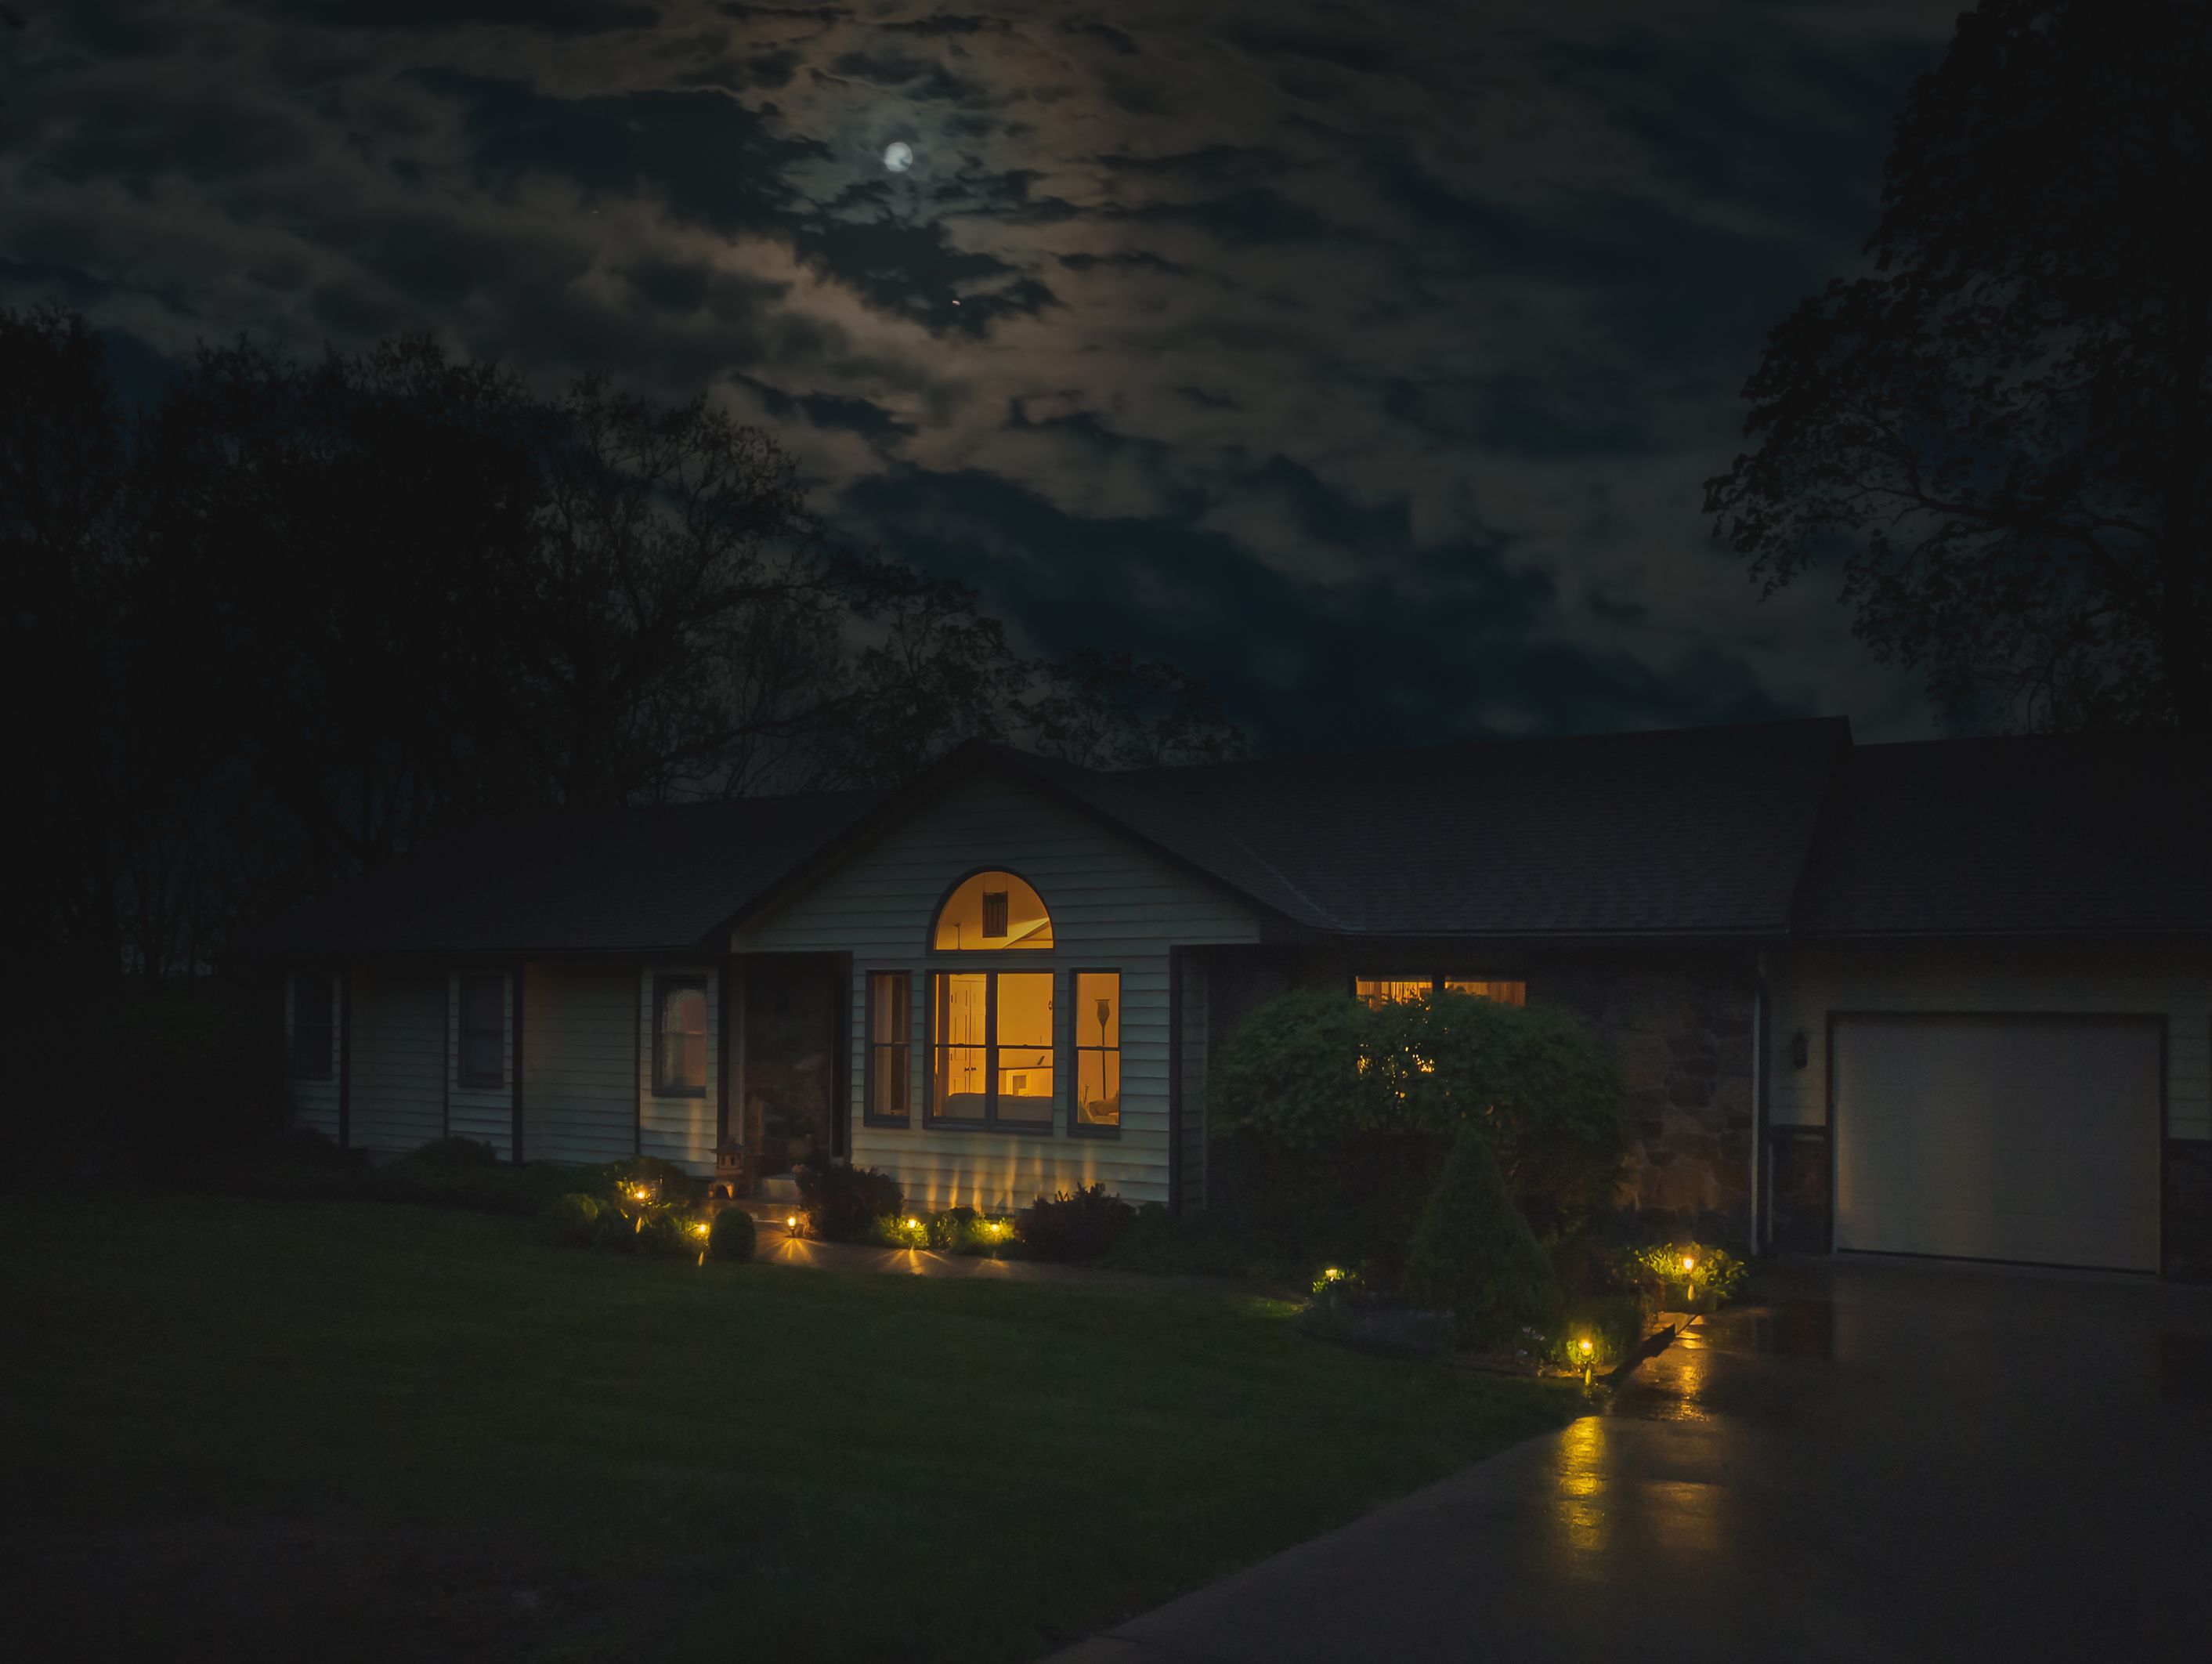
Consider adding a timer or smart lighting system to automate your lights. This not only adds convenience but also enhances security by creating the appearance of an occupied home.
Maintain Your Lighting System
Regular maintenance is key to ensuring your outdoor lighting remains in top condition. Periodically check the fixtures for any damage, clean the lenses to maximize light output, and replace bulbs as needed. Ensure that all connections are secure, especially after harsh weather conditions.
By following these steps, Bryan homeowners can create a stunning outdoor lighting display that not only beautifies their home but also enhances its safety and value. Enjoy the process, and don't be afraid to get creative with your lighting design!