
Step-by-Step Guide to Irrigation System Installation in College Station
Understanding the Basics of Irrigation Systems
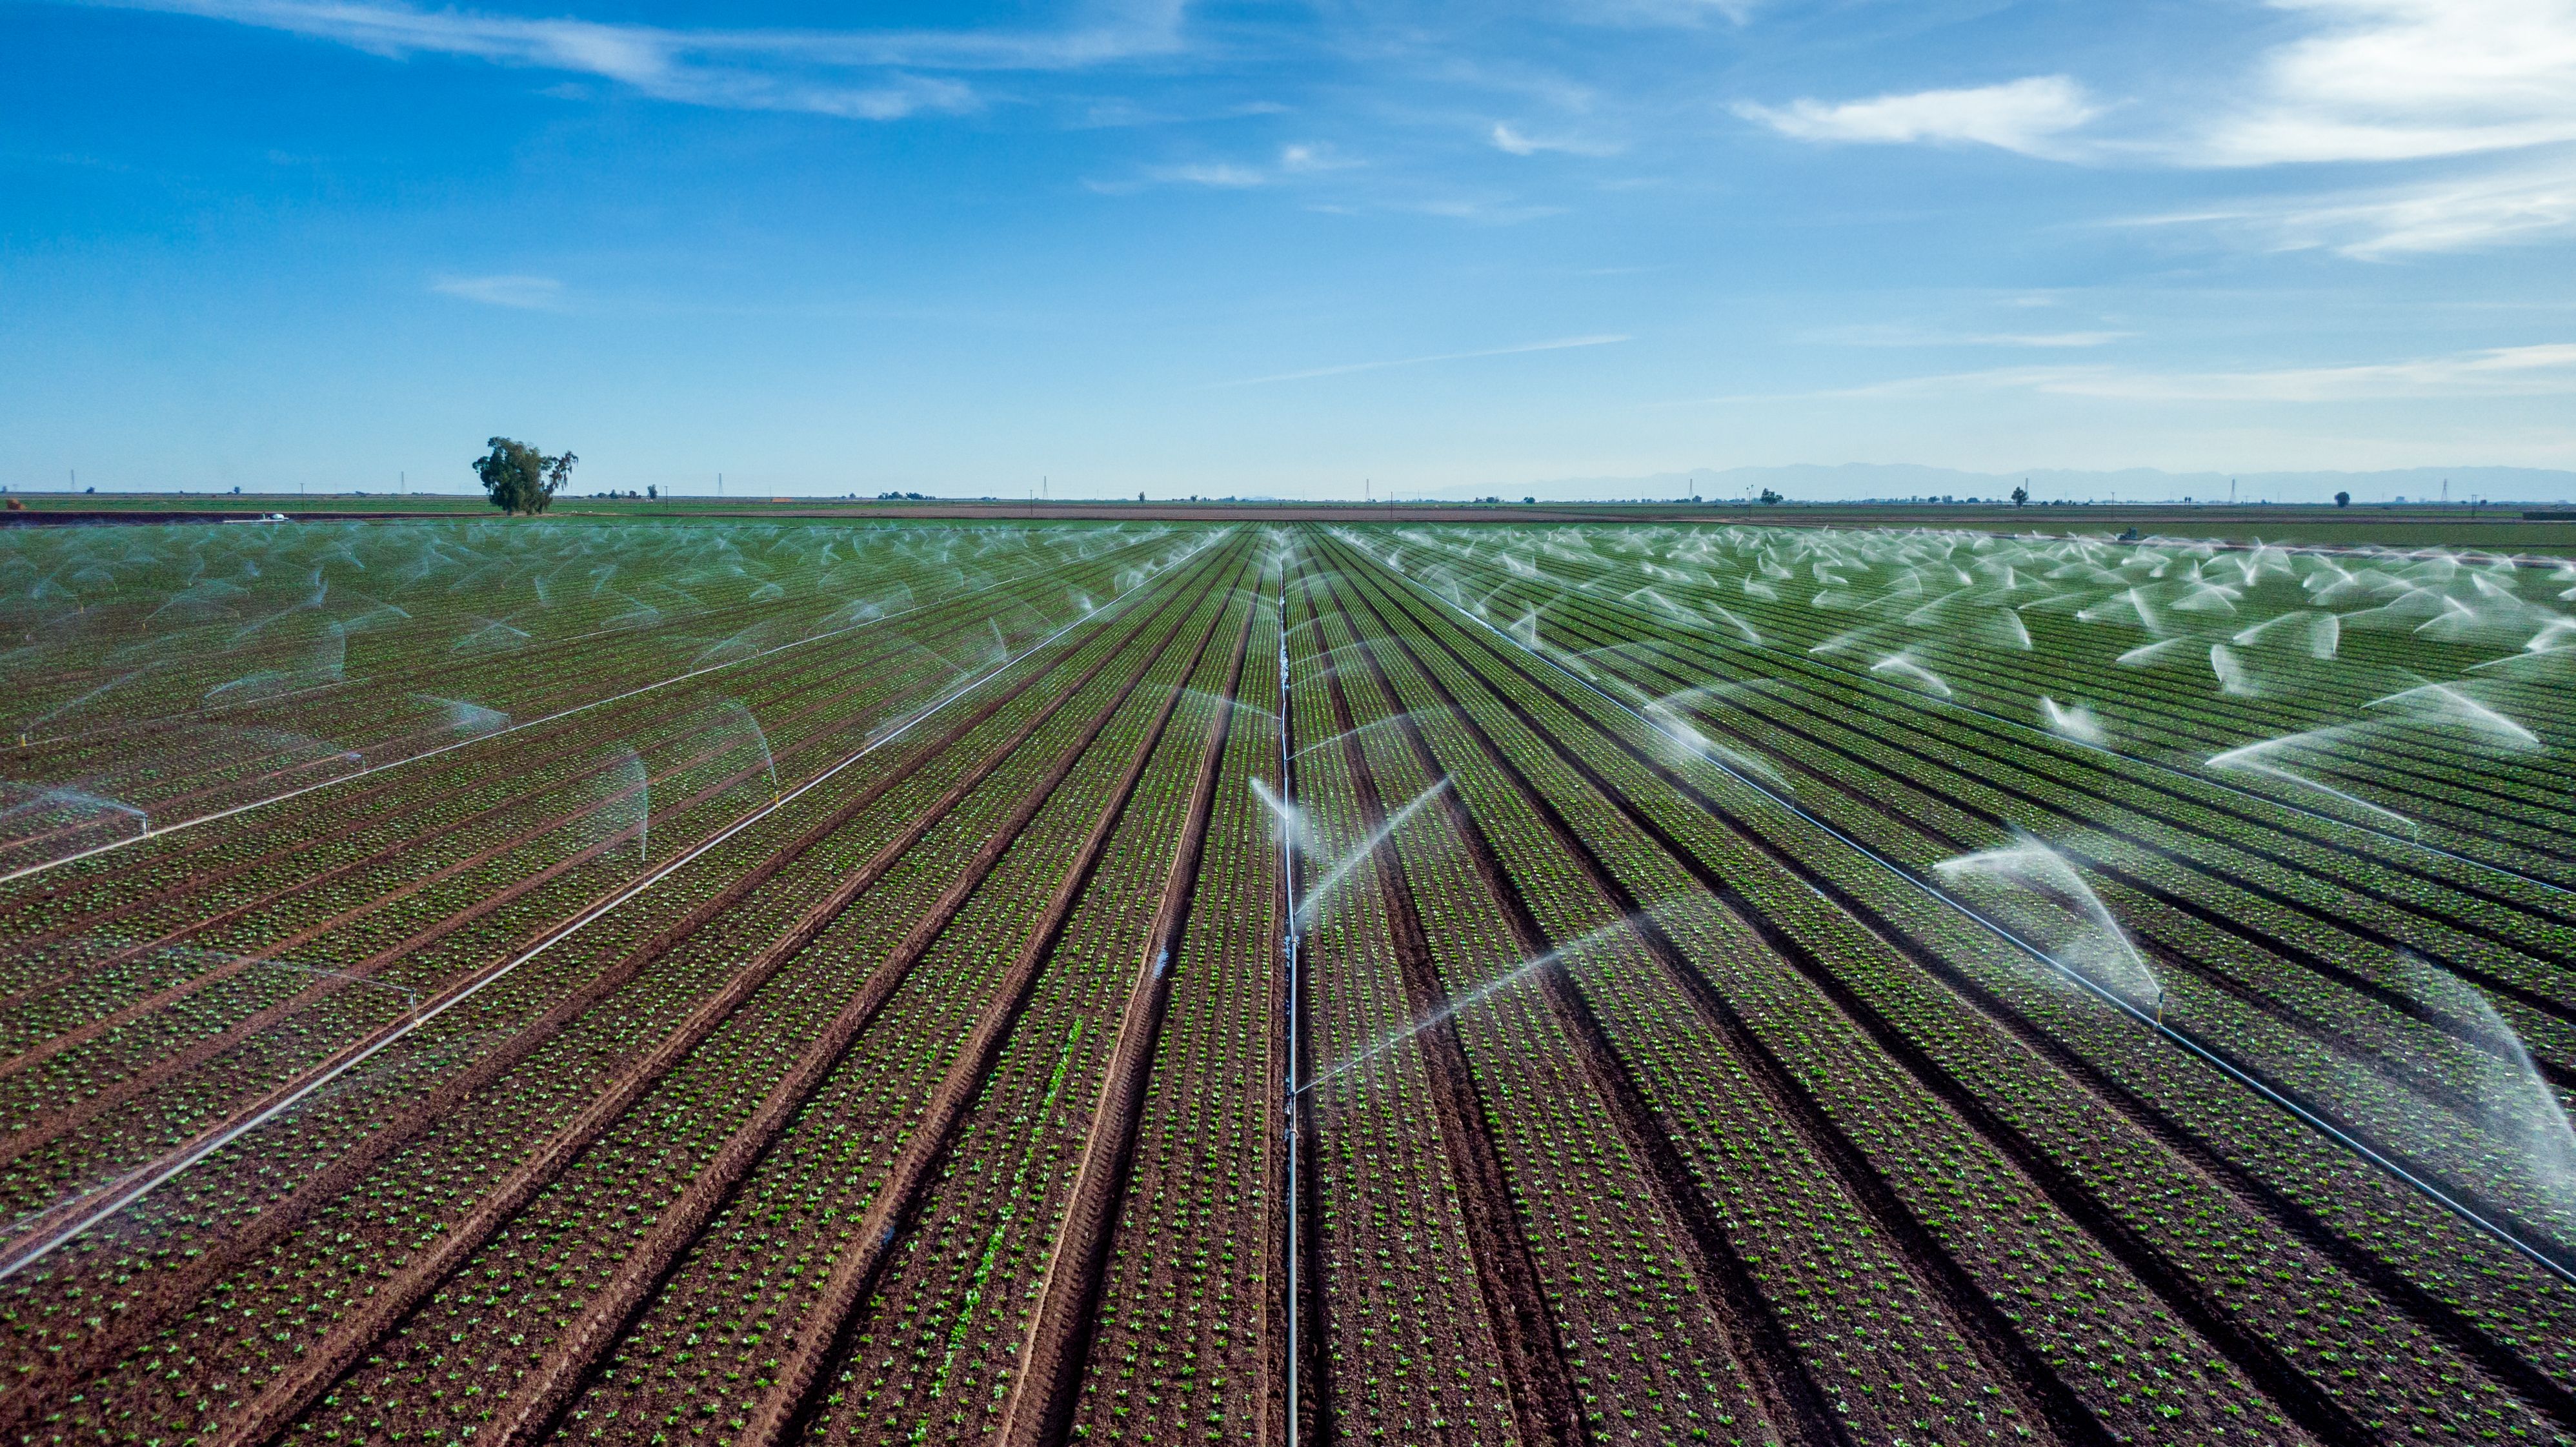
Installing an irrigation system in your College Station property can be a game-changer for maintaining lush, healthy landscapes. Before diving into the installation process, it's important to understand what an irrigation system entails. These systems are designed to provide the right amount of water to your plants, ensuring they thrive throughout the year.
Irrigation systems can range from simple hose setups to complex underground systems with timers and sensors. The choice depends on your specific needs, budget, and landscape size. Regardless of the type, the primary goal is to conserve water while keeping your plants healthy.
Planning Your Irrigation System
A successful irrigation system installation begins with thorough planning. Start by assessing your landscape. Take note of the different plant types, their water needs, and the layout of your garden. This information will guide you in designing a system tailored to your landscape.
Next, consider the water source and pressure. Most homes in College Station rely on municipal water, which should be sufficient for residential irrigation systems. However, it's crucial to test the water pressure and flow rate to ensure they meet the system's requirements.
Designing the Layout
The layout design is a crucial step in ensuring even water distribution. Divide your landscape into zones based on plant types and sunlight exposure. This zoning allows for the customization of watering schedules and durations to meet each zone's specific needs.
Gathering Materials and Tools
With a plan in hand, it's time to gather the necessary materials and tools. You'll need pipes, connectors, sprinkler heads, drip lines, and a controller unit. It's advisable to purchase high-quality components to ensure the longevity and efficiency of your system.
In addition to the materials, you'll need tools such as shovels for digging trenches, a pipe cutter, a measuring tape, and a level. Having all tools ready before you start will make the installation process smoother.
Installation Process
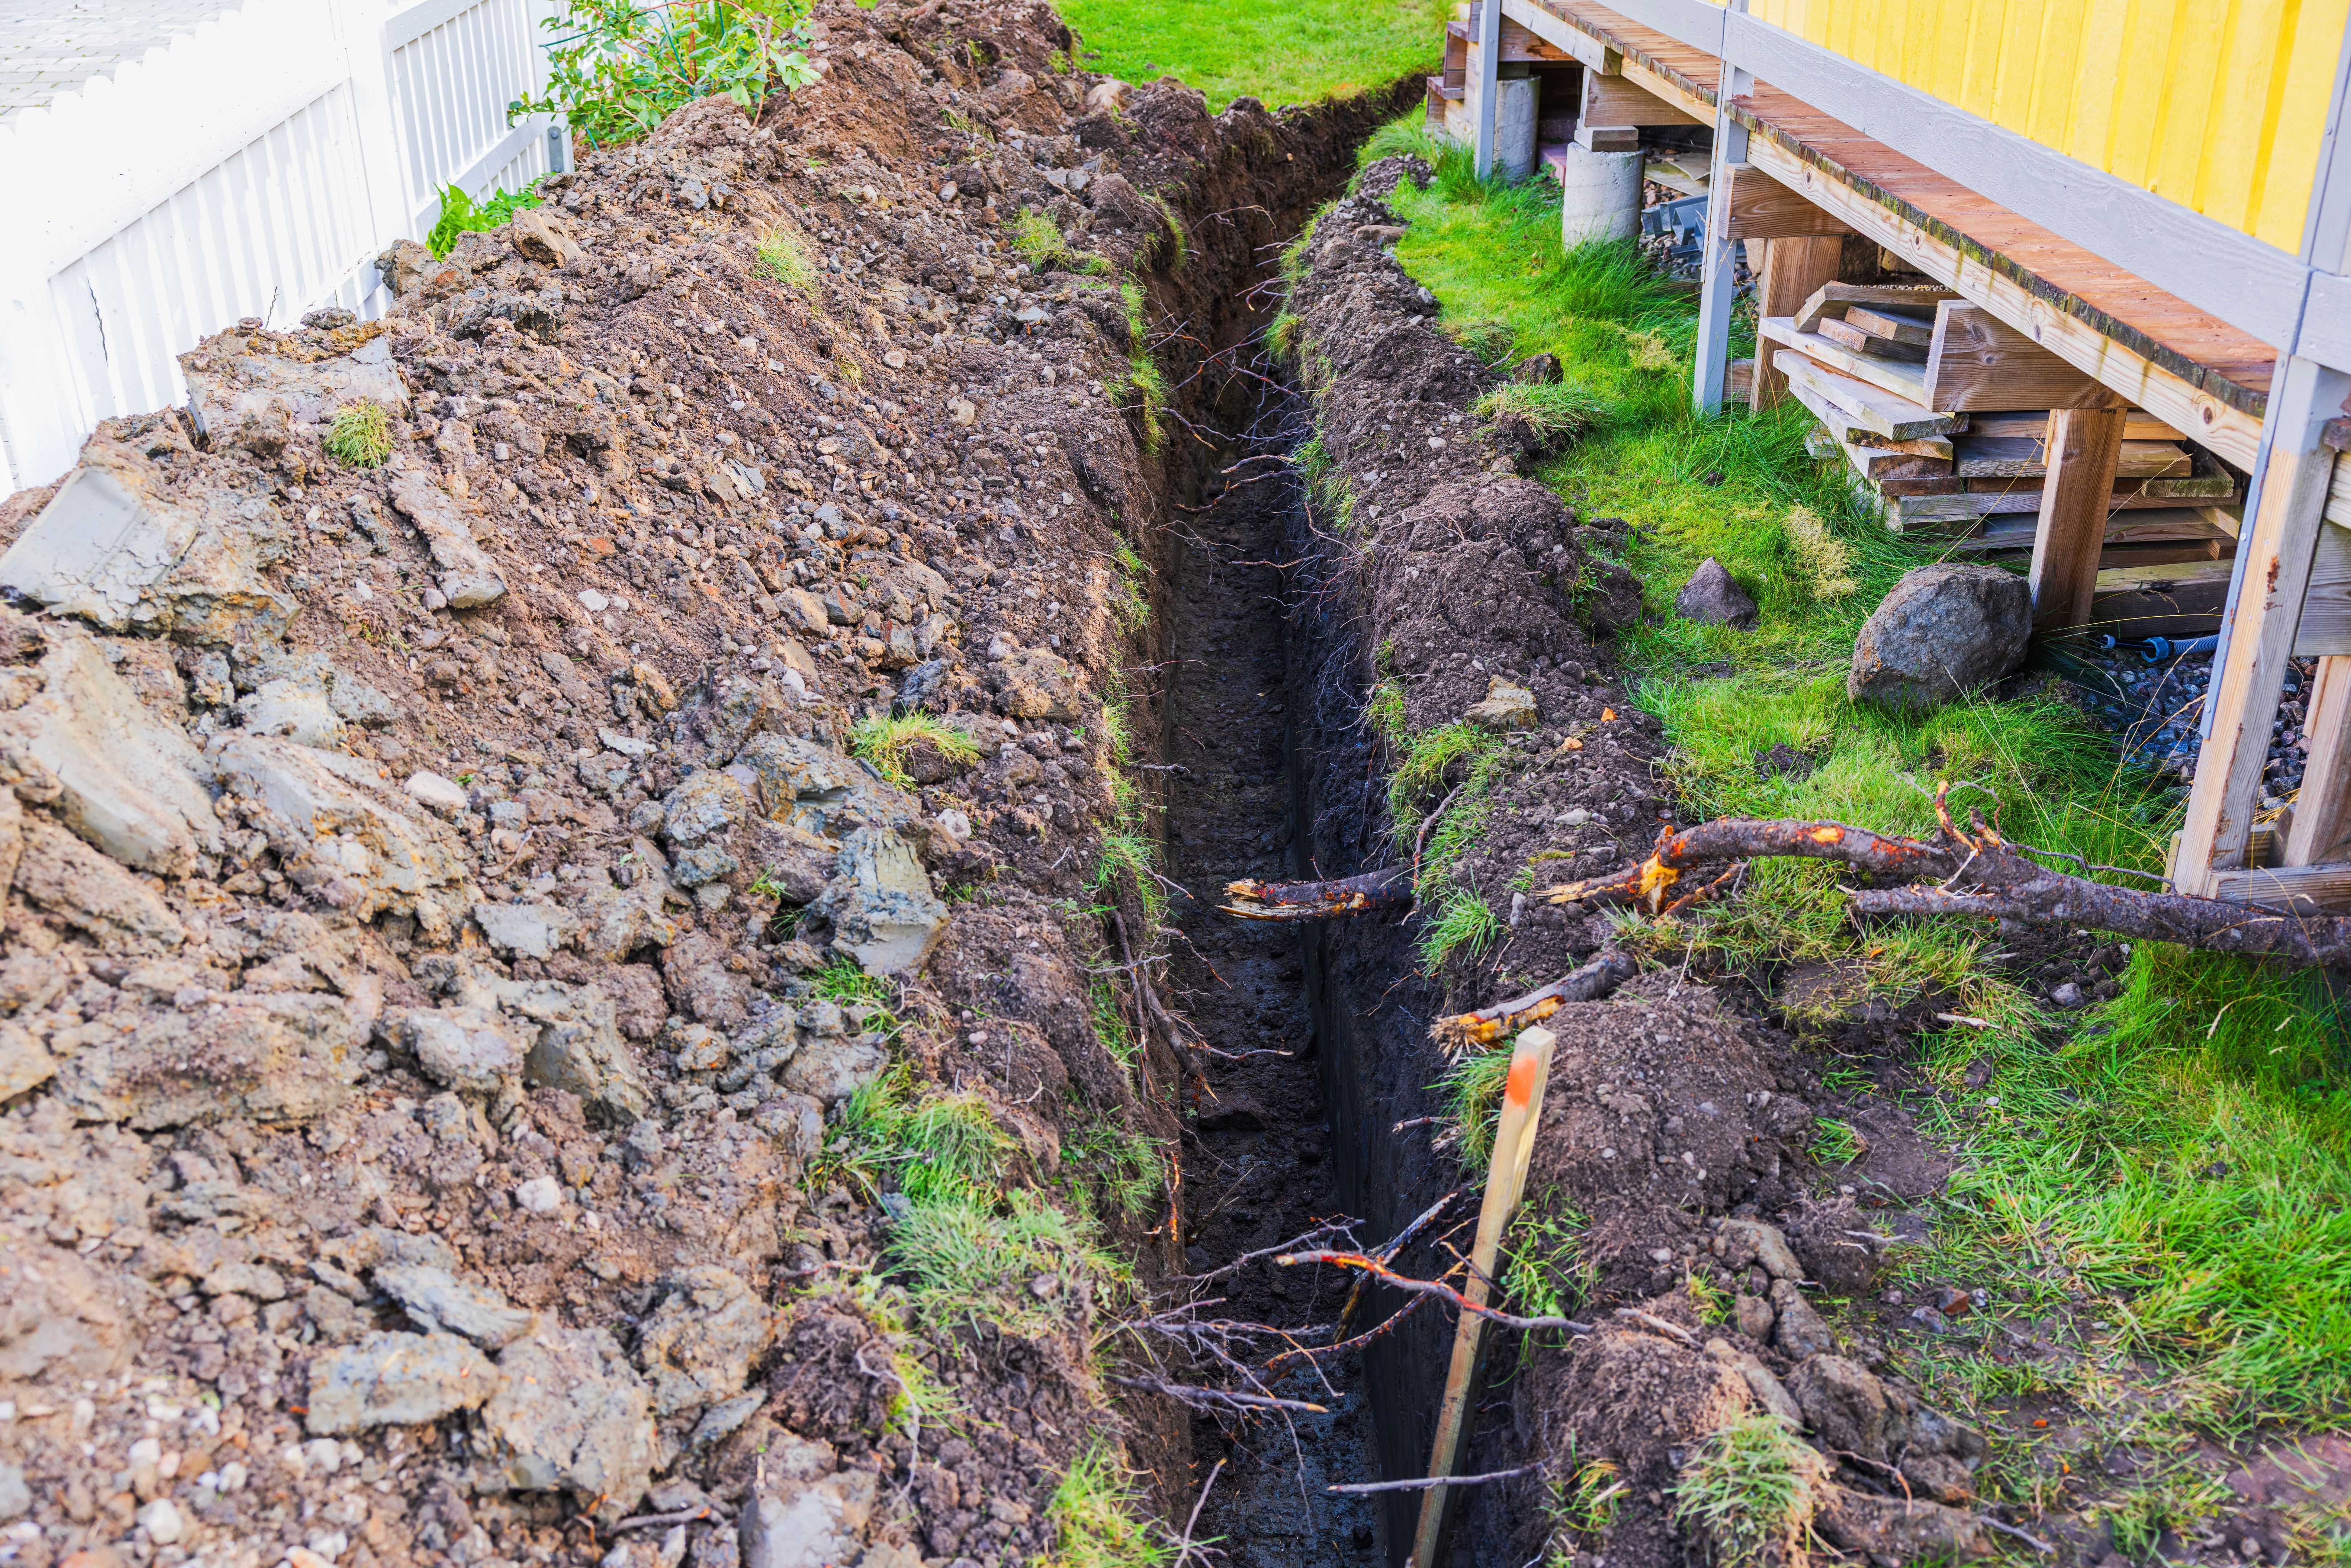
The installation begins with mapping out the trenches for the pipes. Use a measuring tape and markers to outline where each pipe will go. Once marked, start digging trenches deep enough to accommodate the pipes without interfering with your lawnmower or other gardening activities.
After laying the pipes, connect them using connectors and secure them in place. Install sprinkler heads or drip lines according to your design plan. Make sure each component is tightly sealed to prevent leaks.
Connecting the System
Once all components are in place, connect the system to the water source. Install a backflow preventer to protect your water supply from contamination. Follow this by connecting the system to a controller unit that will manage watering schedules.
Testing and Adjustments
Before covering the trenches, it's crucial to test the system for any leaks or misaligned sprinkler heads. Turn on the system and observe each zone. Adjust sprinkler heads as necessary to ensure even coverage and address any leaks promptly.

After testing, fill in the trenches carefully, taking care not to damage the pipes. Once everything is in place, program the controller unit according to your landscape's watering needs and local climate conditions.
Maintenance Tips
Regular maintenance is key to keeping your irrigation system running efficiently. Check for leaks or clogged nozzles periodically and clean or replace parts as needed. Adjust watering schedules seasonally to adapt to changing weather conditions in College Station.
By following these steps and maintaining your system diligently, you'll enjoy a vibrant landscape that conserves water and enhances your property's beauty year-round.